Client GUI tutorial
Here we want to create a UI that only exist on the client side and doesn't sync any data.
We will make the GUI as simple as possible
1. Creating the screen
First create a new class with a static method, which returns a ModularScreen.
public class TutorialGUI {

    public static ModularScreen createGUI() {
        ModularPanel panel = ModularPanel.defaultPanel("tutorial_panel");
        return new ModularScreen(panel);
    }
}
.background() to set your own background. However, creating a new theme is recommended if
applicable.
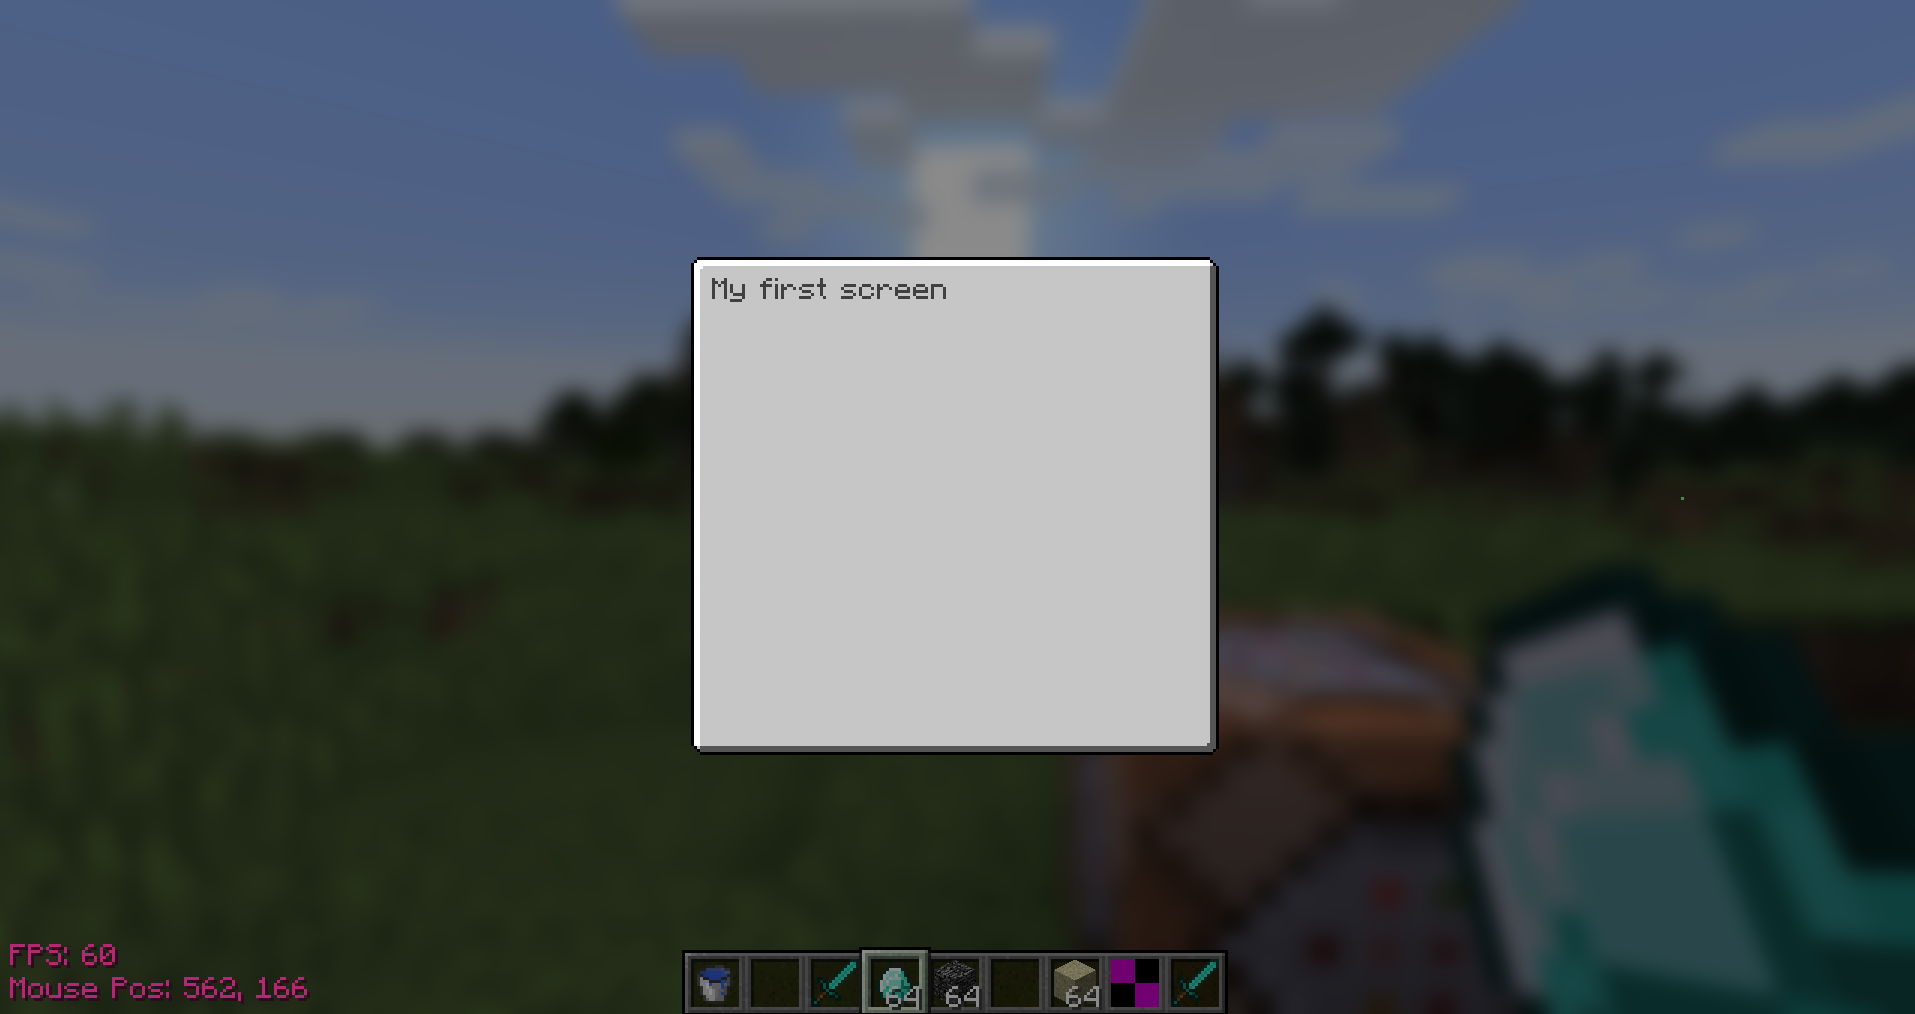
For now lets put a title at the top of the panel. For that we'll use .child() and pass a widget to it. To create a
text widget we can use IKey.str().asWidget. (Note: You can create a translated string with IKey.lang()). We also
want to set the postion, for that we chain .top() and .left() on ANY widegt which implements IPositioned. We don't
need to set a size since TextWidget calculates it on its own. But you can limit the width for example and the text
will automatically wrap, if necessary.
public static ModularScreen createGUI() {
    ModularPanel panel = ModularPanel.defaultPanel("tutorial_panel");
    panel.child(IKey.str("My first screen").asWidget()
                .top(7).left(7));
    return new ModularScreen(panel);
}
2. Opening the screen
We want to open the screen when the player right clicks with a diamond. We use a forge event for that and simply check
for client side and a diamond. Then we open the screen with ClientGUI.open(). Pass in a new screen instance with the
method we just created. Now let's boot up minecraft and test it.
@Mod.EventBusSubscriber
public class TutorialGUI {

    @SubscribeEvent
    public static void onItemUse(PlayerInteractEvent.RightClickItem event) {
        if (event.getEntityPlayer().getEntityWorld().isRemote && event.getItemStack().getItem() == Items.DIAMOND) {
            ClientGUI.open(createGUI());
        }
    }

    public static ModularScreen createGUI() {
        ...
    }
}
CTRL + SHIFT + ALT + C while in a ModularUI screen.

3. Adding a button
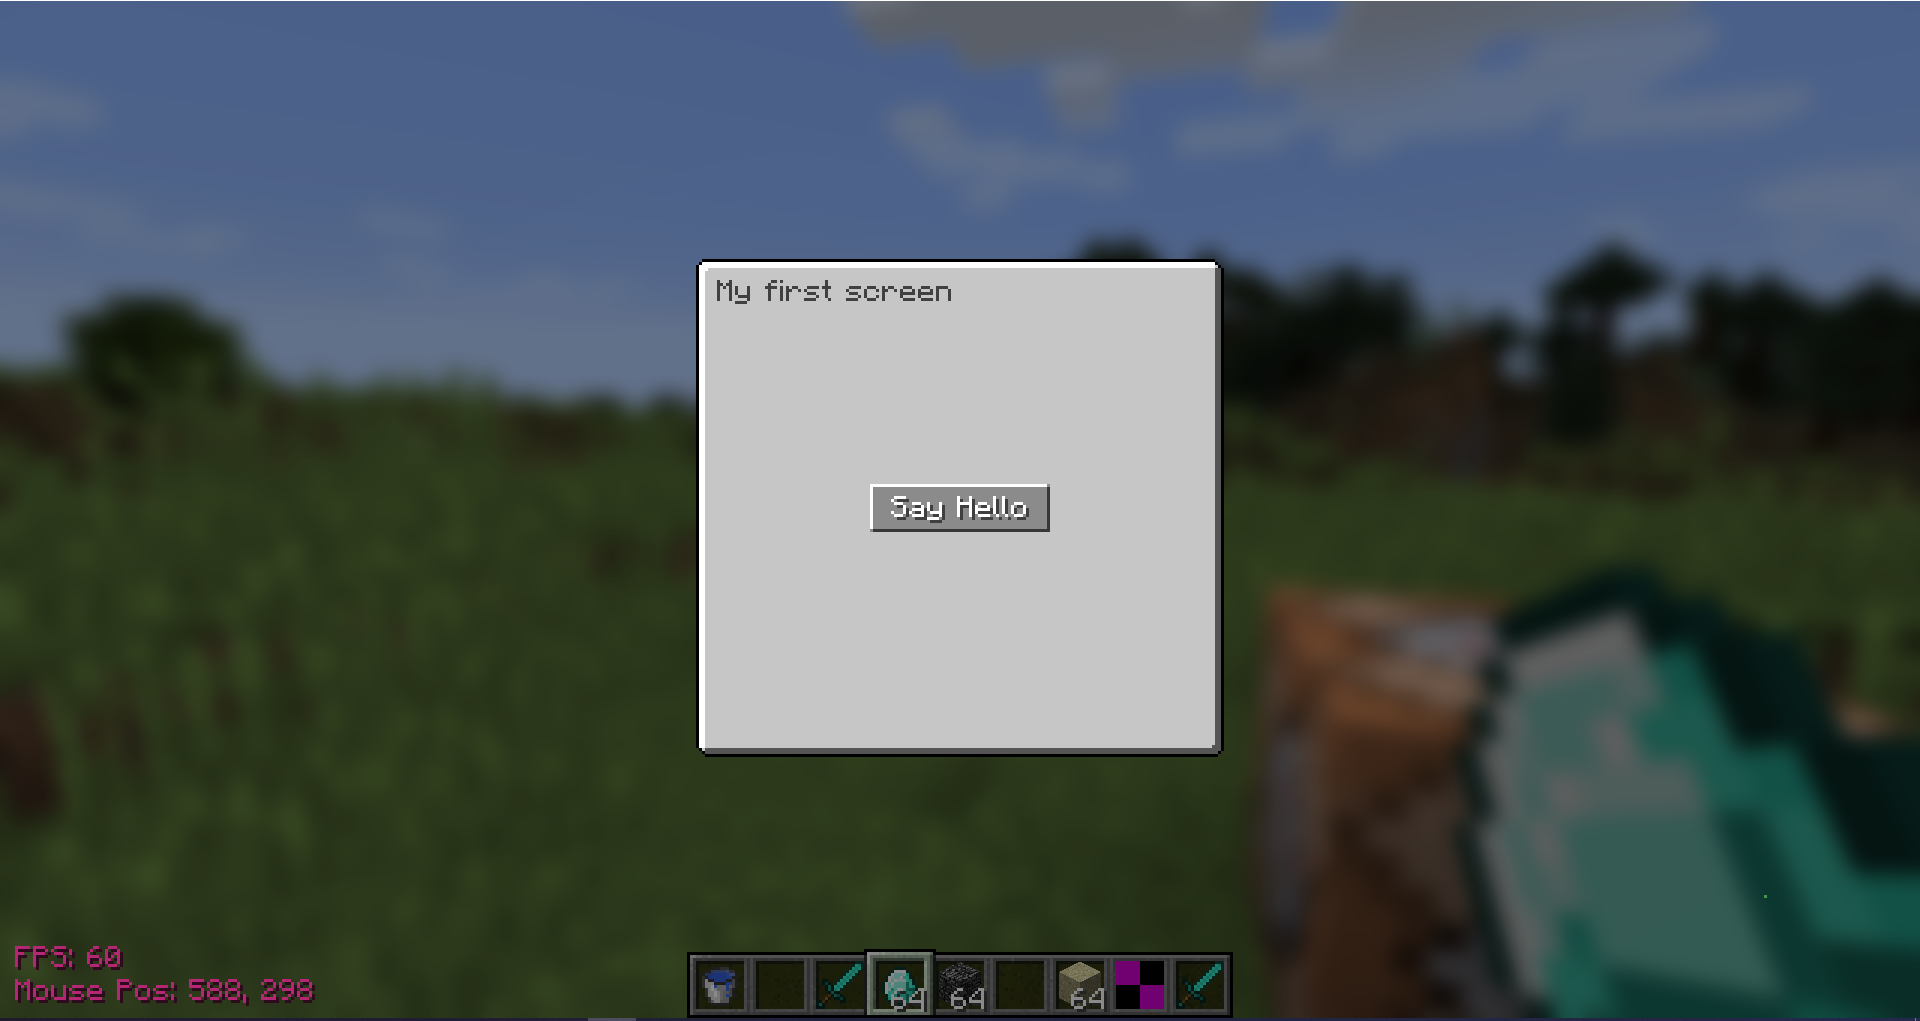
Now let's add a button, that greets the player with a message. For that we will use the ButtonWidget. Here we do need
to set a size since the text on the button is not a widget, but a IDrawable, which doesnt size itself. It uses the
size of its widget. We don't need to set a background since its set by the current Theme. We center the button in the
panel using .align(Alignment.Center) and set a size with .size(60, 16). We could also use .width(60).height(16).
It's the same thing.
public static ModularScreen createGui() {
        ModularPanel panel = ModularPanel.defaultPanel("tutorial_panel");
        panel.child(IKey.str("My first screen").asWidget()
                    .top(7).left(7))
            .child(new ButtonWidget<>()
                    .align(Alignment.Center)
                    .size(60, 16)
                    .overlay(IKey.str("Say Hello"))
                    .onMousePressed(button -> {
                        EntityPlayer player = Minecraft.getMinecraft().player;
                        player.sendMessage(new TextComponentString("Hello " + player.getName()));
                        return true;
                    }));
        return new ModularScreen(panel);
}

Pressing the button greets the player in the chat.

Simple, right?